Warning: Boring post on using a newly learned technique in Photoshop Elements 4.
Last week I posted some photos of a family from our church, the Taylors, and their amazing, death-defying children. And a couple of their death-defying friends, too.
I ended up taking several hundred photos that day. And quite a few of them didn't turn out so well.
Operator error. I want to admit that right here, right up front. I just have never used this new Nikon dSLR for any type of quick moving, sporting event where I just held the shutter release down and let 'er rip.
That's why I was so jazzed to be off last Friday; to be able to go take photos of the Taylor Boys flyin' through the air.
The results, from a photography point of view, was a mixed bag. The photos I posted last week were pretty much good to go, directly from the camera. But many dozens of photos were underexposed (dark).
WAY underexposed.
Enter Photoshop Elements 4. A software program that I got for Christmas last year to allow the manipulation of digital images; but I am still learning just what all can be done with it.
Most folks have heard of Photoshop, the 'real' Photoshop is now at version CS2, but Photoshop CS2 costs about $300-$400.
Photoshop Elements 4, a really good program in itself, is around $70.
See why I got Elements instead of CS2? Plus, I had never really done any photo fixing and manipulation before. I didn't want to learn to swim by being thrown into the mid-Atlantic, a small swimming pool would suffice. And a nice swimming instructor too.
Now with Elements, the book that came with it just covered the basics, and I do mean basics. So I did some internet searching for a good Elements oriented book that could take me deeper, to really be able to repair photos with serious 'issues'.
See, I have been trying to scan some of my own, and my Father-In-Law's slides, and unless the exposure was perfect, or if the photo is so old that it has color shifted or faded, it needs a little help after scanning.
Enter Photoshop Elements and the book I ended up buying: The Photoshop Elements 4 Book For Digital Photographers by Scott Kelby. This book is absolutely fantabulous!
But with my new Nikon, and last week's mixed results, I still had literally a couple of hundred way underexposed images I was determined to fix.
Consequently, every night this week I have been working on correcting some of these images, with mostly good results. The only problem is that bringing back underexposed images to a state that is useable, introduces a fair amount of digital noise. At least it did with the way I figured out how to do it.
But Wednesday night, I discovered a technique in the Scott Kelby book that knocked my socks off.
I won't bore you here with detailed steps on how it's done, but I'll instead give you just two, before and after images and you tell me if it's not the coolest thing.
Mind you now, had these two dark images been slides I just recieved from a lab, I would just throw them away. Useless.
Here they are:

 This next one was particularly bad.
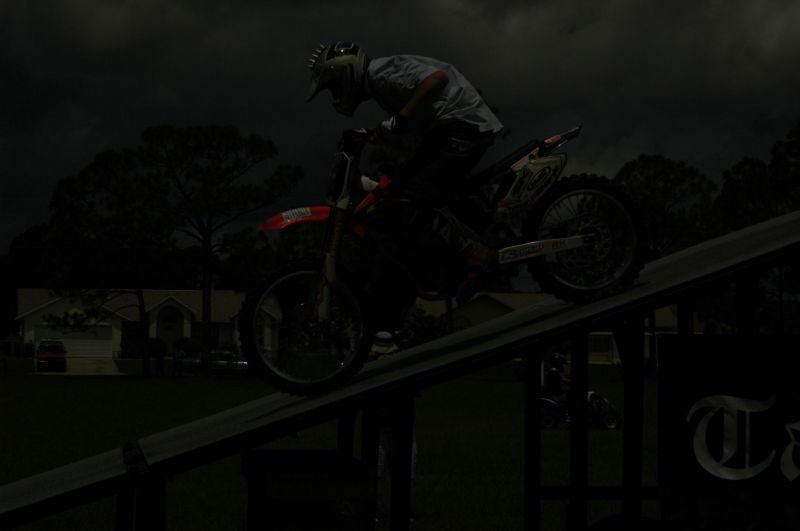
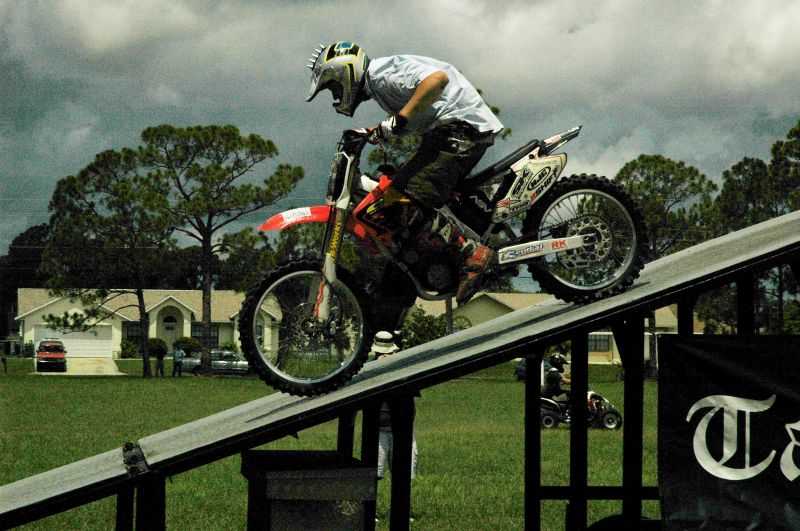
Cool, Huh? From unuseable to pretty decent in about 30 seconds work (truly) per photo. And the clearer ones are a bit grainy or noisy, but they would make decent 4x6 prints even if they shouldn't be made larger than that.
Yeah, I know. You hardened 'real' Photoshop users are yawning, but I'm LOVING this.
No comments:
Post a Comment